Table of Contents
- Where to Find Tactical Hologram: Impermanence Heron
- Different Difficulty Leads to Different Movesets
- Preparation Before the Battle
- Impermanence Heron Skill Set
- Go Behind the Boss to Avoid the Wing Attack
- Evade Before Parrying the Feather Daggers
- Go Behind the Impermanence Heron to Avoid Being Pulled In
- Evade When the Boss suddenly Fly Upwards
- Evade When the Impermanence Heron Use Dragon Breath
- Constantly Use Intro Skill to Reduce Vibration Strength
- Evade When The Area Goes Dark
- Evade Explosion on The Ground When the Fire Turns Red
- Difficulty 6 Showcase
- All Rewards From Tactical Hologram
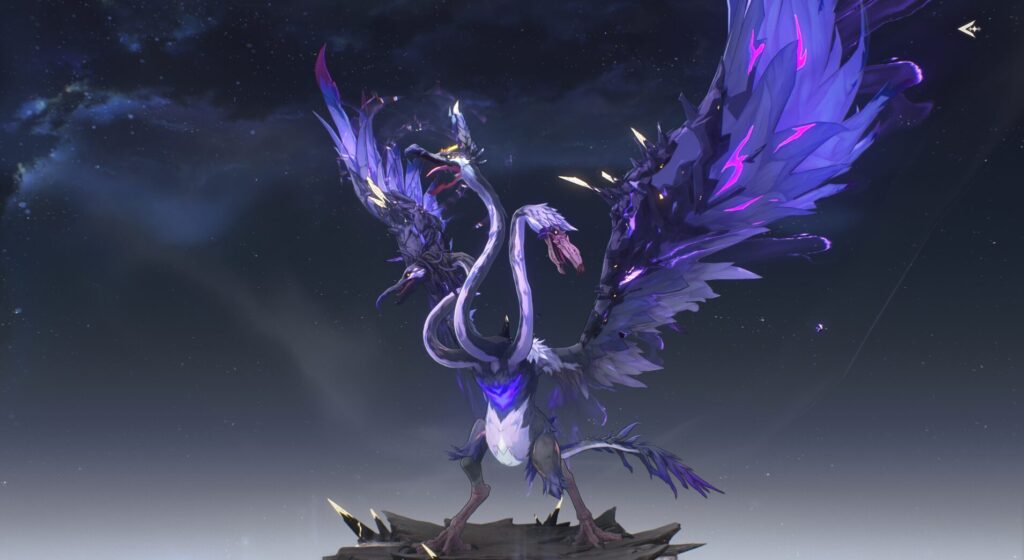
Impermanence Heron is one of the Tactical Holograms available in Wuthering Waves version 1.0. Defeat the boss to get First-Clear Rewards, including Astrite, Impermanence Heron, Data Set, Premium Sealed Tube, and Shell Credit.
Where to Find Tactical Hologram: Impermanence Heron
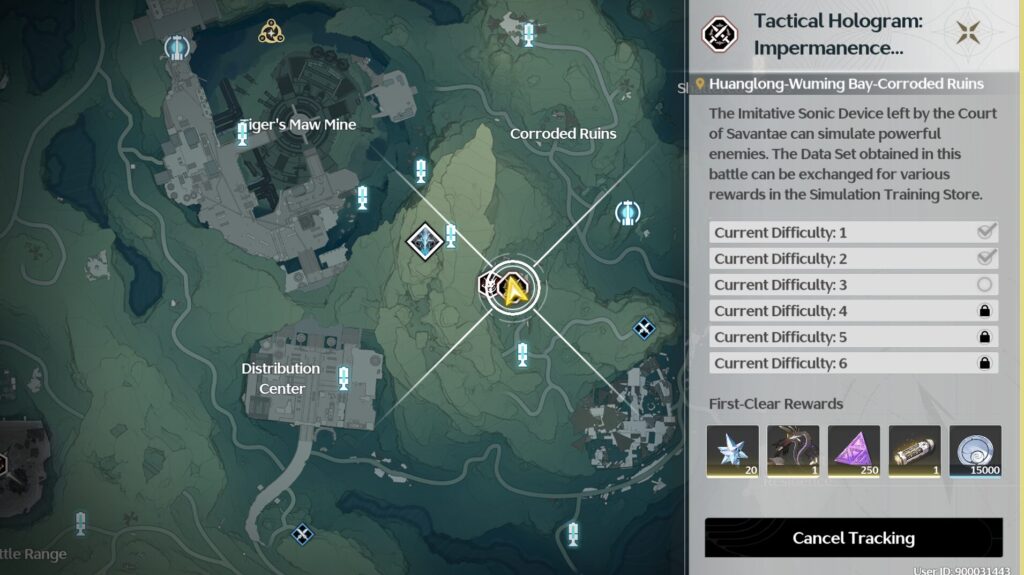
You can find Tactical Hologram: Impermanence Heron southeast of Tiger's Maw Mine in Wuming Bay. It's located near Lampylumen Myriad boss and extremely near Tacet Field which gives out Freezing Frost and Void Thunder Echo.
Different Difficulty Leads to Different Movesets
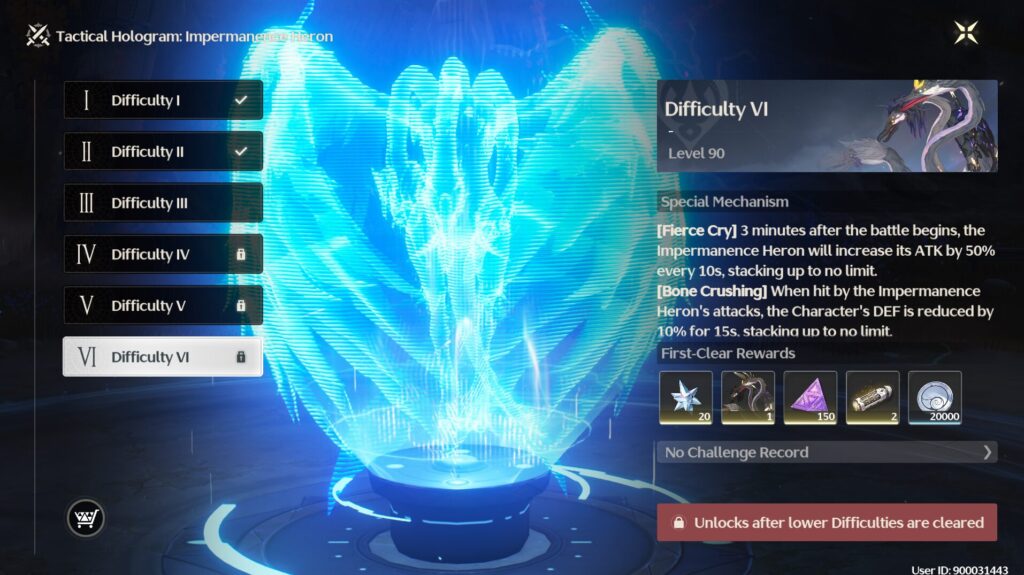
As you can see in the image above, there are 6 different difficulties for one Tactical Hologram challenge. Each difficulty featured different levels of the boss, and the attacks they use are also different depending on the level. The higher the difficulty, it will have a special mechanism.
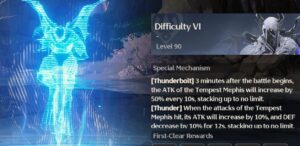
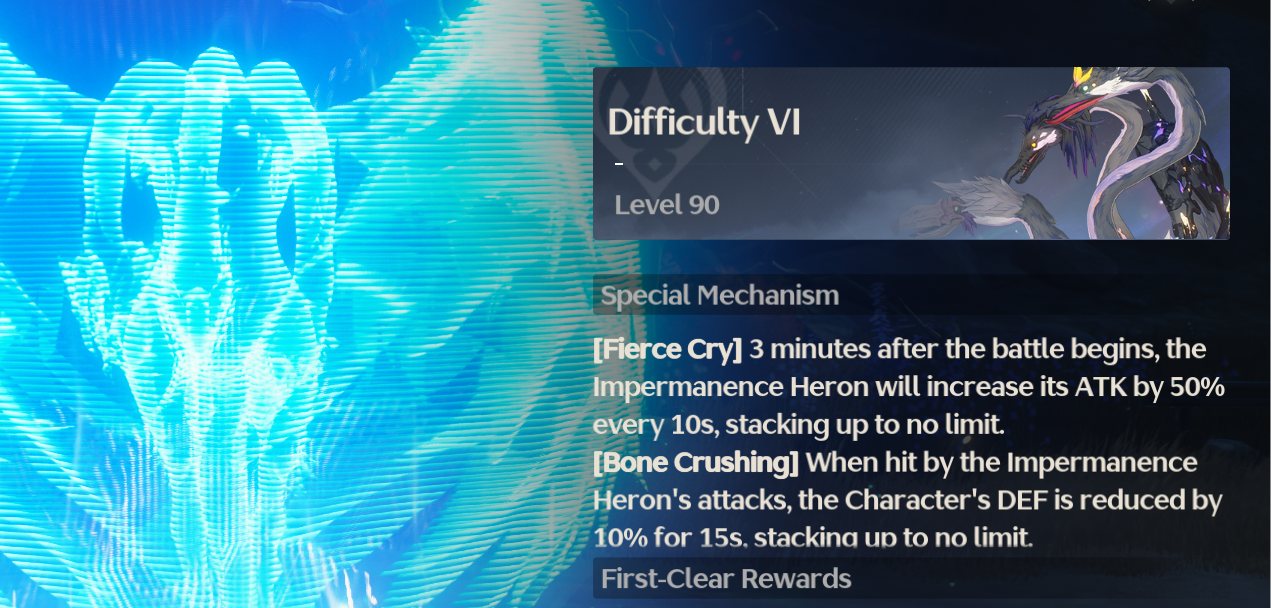
Check here for the Special Mechanisms
[Fierce Cry] 3 minutes after the battle begins, the Impermanence Heron will increase its ATK by 50% every 10s, stacking up to no limit.
[Bone Crushing] When hit by the Impermanence Heron's attacks, the Character's DEF is reduced by 10% for 15s, stacking up to no limit.
[Startling Bow] When the Echo Counter Skill successfully counters a Special Skill, the next attack within 5s will additionally deplete the enemy's Vibration Strength by 30%
Preparation Before the Battle
Choose the Right Attribute and Weapon
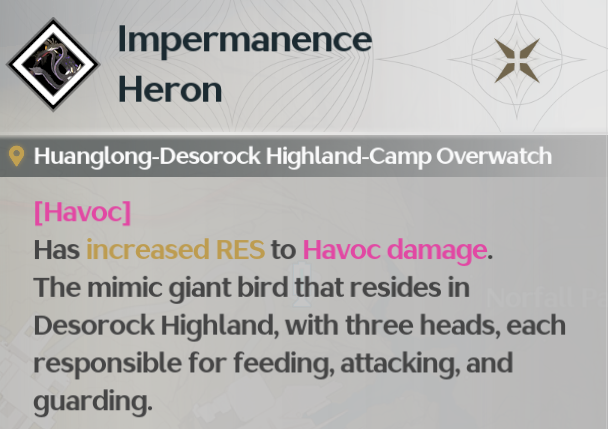
Impermanence Heron has increased RES to Havoc DMG, so try not to bring any Havoc characters (especially for your Main DPS)
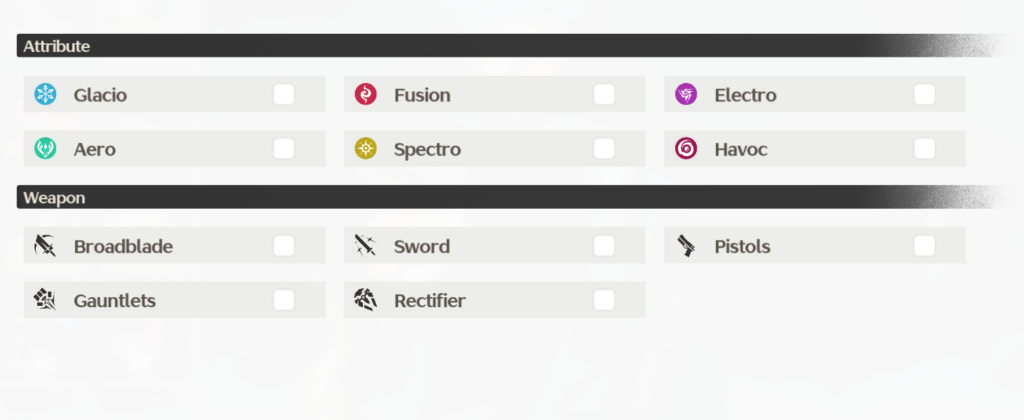
Unfortunately, there's not that many attacks that can be parried for this boss, so you can bring any Weapon-type Resonators that you are comfortable with.
Craft Potions and Cook Dishes Beforehand
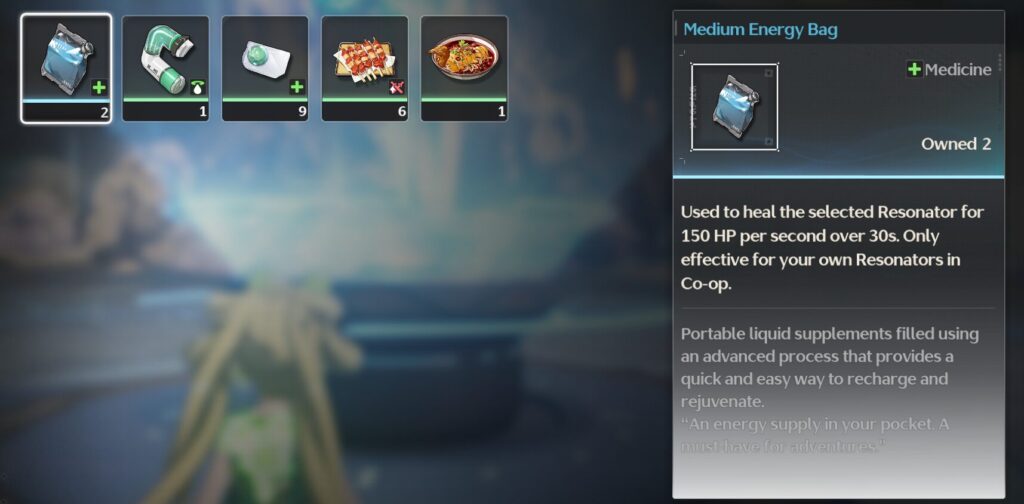
If you have a skill issue (like me), you can opt to consume dishes beforehand to instantly buff your teams, such as food that gives you extra ATK or Crit Rate buffs.
Aside from dishes, you should also bring any potions - like the Revival Inhalers - to the battle because the boss' attacks, especially in the late difficulty, hit like a truck and may one-shot your character if they're squishy or have low health.
Impermanence Heron Skill Set
Note: This guide is based on Difficulty 4 Level 70. Please refer to the Special Mechanism above for Difficulty 5 and above. Not all skill sets will be added here, mostly the notable ones only.
Author's Note: Take this with a grain of salt, but I believe this boss is much easier compared to Tactical Hologram: Tempest Mephis who has unfair help from its shadow Tempest Mephis. That's like fighting two bosses at the same time compared to this three-headed bird.
Go Behind the Boss to Avoid the Wing Attack
This one is pretty simple because the Impermanence Heron only uses its wing twice to slap at you. For the first one, you can either dodge this (can't be parried) at the right time or run behind the bird. While the AoE of the wing attack is pretty big, once you're behind it, the attack won't be able to reach you. Sometimes, it will stop after the first attack if you manage to dodge it, and sometimes it will continue to the second slap.
But for the second slap, you might want to evade it rather than run because this one has a wider range and the boss also spins around a little bit so it might reach you even if you hide behind it, that is, unless you already run far away from the boss since the first attack.
Evade Before Parrying the Feather Daggers
When the Impermanence Heron throws its dagger-like feathers toward your location, evade it because that can't be parried. However, after that attack and you have a distance from the boss, it will charge towards you. This is the attack that can be parried! So, evade the feather, and parry when it charges at you. If you're too near to the Impermanence Heron when it throws the feather, it won't trigger the charge attack.
Go Behind the Impermanence Heron to Avoid Being Pulled In
When you see the boss stand still and suck air, quickly sprint to get behind it so you won't get pulled into the vortex. If you do, it will peck at you continuously with its beaks then execute a mid-air plunging attack.
But if you're at the back when it sucking the air, the Impermanence Heron will stop doing this attack and be dumbfounded for a few seconds.
Evade When the Boss suddenly Fly Upwards
When the boss flies upwards and you don't see any indicators of AoE attacks on the ground, then this one would be a simple slam to your location. Just evade 1 second after the Impermanence Heron has flown upwards.
Evade When the Impermanence Heron Use Dragon Breath
Looks like our bird is also a dragon because it can breath fire now. Anyway, as usual, you can't parry it and dodging is the only way. This attack isn't that dangerous per se, although it deals 3k per hit (for my characters at least), but since its direction is pretty randomized and not just targeting your spot, it's better to reduce the damage.
Oh and when you run, you might want to switch to your tallest character so they can sprint faster (or height doesn't affect speed and distance? it just makes me feel better running with tall characters).
Constantly Use Intro Skill to Reduce Vibration Strength
As mentioned before, there are not many attacks of Impermanence Heron that can be parried. That's why the only way to reduce its Vibration Strength is by using Intro Skill. Keep spamming Intro Skill to deplete its shield and use your Ultimate when the Vibration Strength is down for a period of time.
Evade When The Area Goes Dark
When the whole area is getting darker, it means the boss will start throwing feathers on the ground. This time, the feather will stuck on the ground and will explode after a few seconds. You can see the indicator by the circle around the feather. Once the lightning circle is the shiniest, that means it's about to explode and you should evade there immediately since you can't parry it.
Evade Explosion on The Ground When the Fire Turns Red
At one point, one of the Impermanence Haron's head will bury to the ground and an AoE circle will appear around the body. (1) When the fire on the ground turns from purple to red and when (2) the moving purple circle goes right in the middle, make sure to evade. If you want to avoid this attack, you can either just run away from the AoE if you have time or evade at the right time by watching the purple-to-red circle.
Difficulty 6 Showcase
All Rewards From Tactical Hologram
| Difficulty & Level | Rewards |
|---|---|
| Difficulty 1 (Level 45) | Astrite ×20 Impermanence Heron (4 Star) Data set ×200 Advanced Sealed Tube ×1 Shell Credit ×10,000 |
| Difficulty 2 (Level 55) | Astrite ×20 Impermanence Heron (4 Star) Data set ×200 Advanced Sealed Tube ×2 Shell Credit ×15,000 |
| Difficulty 3 (Level 60) | Astrite ×20 Impermanence Heron (5 Star) Data set ×250 Premium Sealed Tube ×1 Shell Credit ×15,000 |
| Difficulty 4 (Level 70) | Astrite ×20 Impermanence Heron (5 Star) Data set ×250 Premium Sealed Tube ×1 Shell Credit ×20,000 |
| Difficulty 5 (Level 80) | Astrite ×20 Impermanence Heron (5 Star) Data set ×250 Premium Sealed Tube ×2 Shell Credit ×20,000 |
| Difficulty 6 (Level 90) | Astrite ×20 Impermanence Heron (5 Star) Data set ×150 Premium Sealed Tube ×2 Shell Credit ×20,000 |