Table of Contents

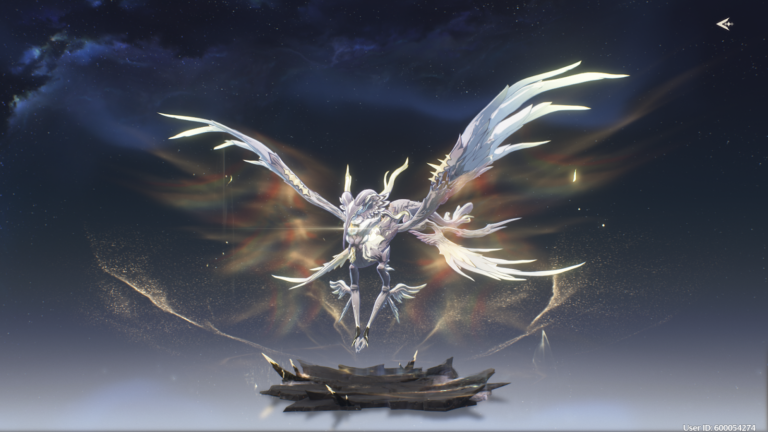
Feilian Beringal is one of the Tactical Holograms available in Wuthering Waves version 1.0. Defeat the boss to get First-Clear Rewards, including Astrite, Feilian Beringal, Data Set, Premium Sealed Tube, and Shell Credit.
Where to Find Tactical Hologram: Feilian Beringal
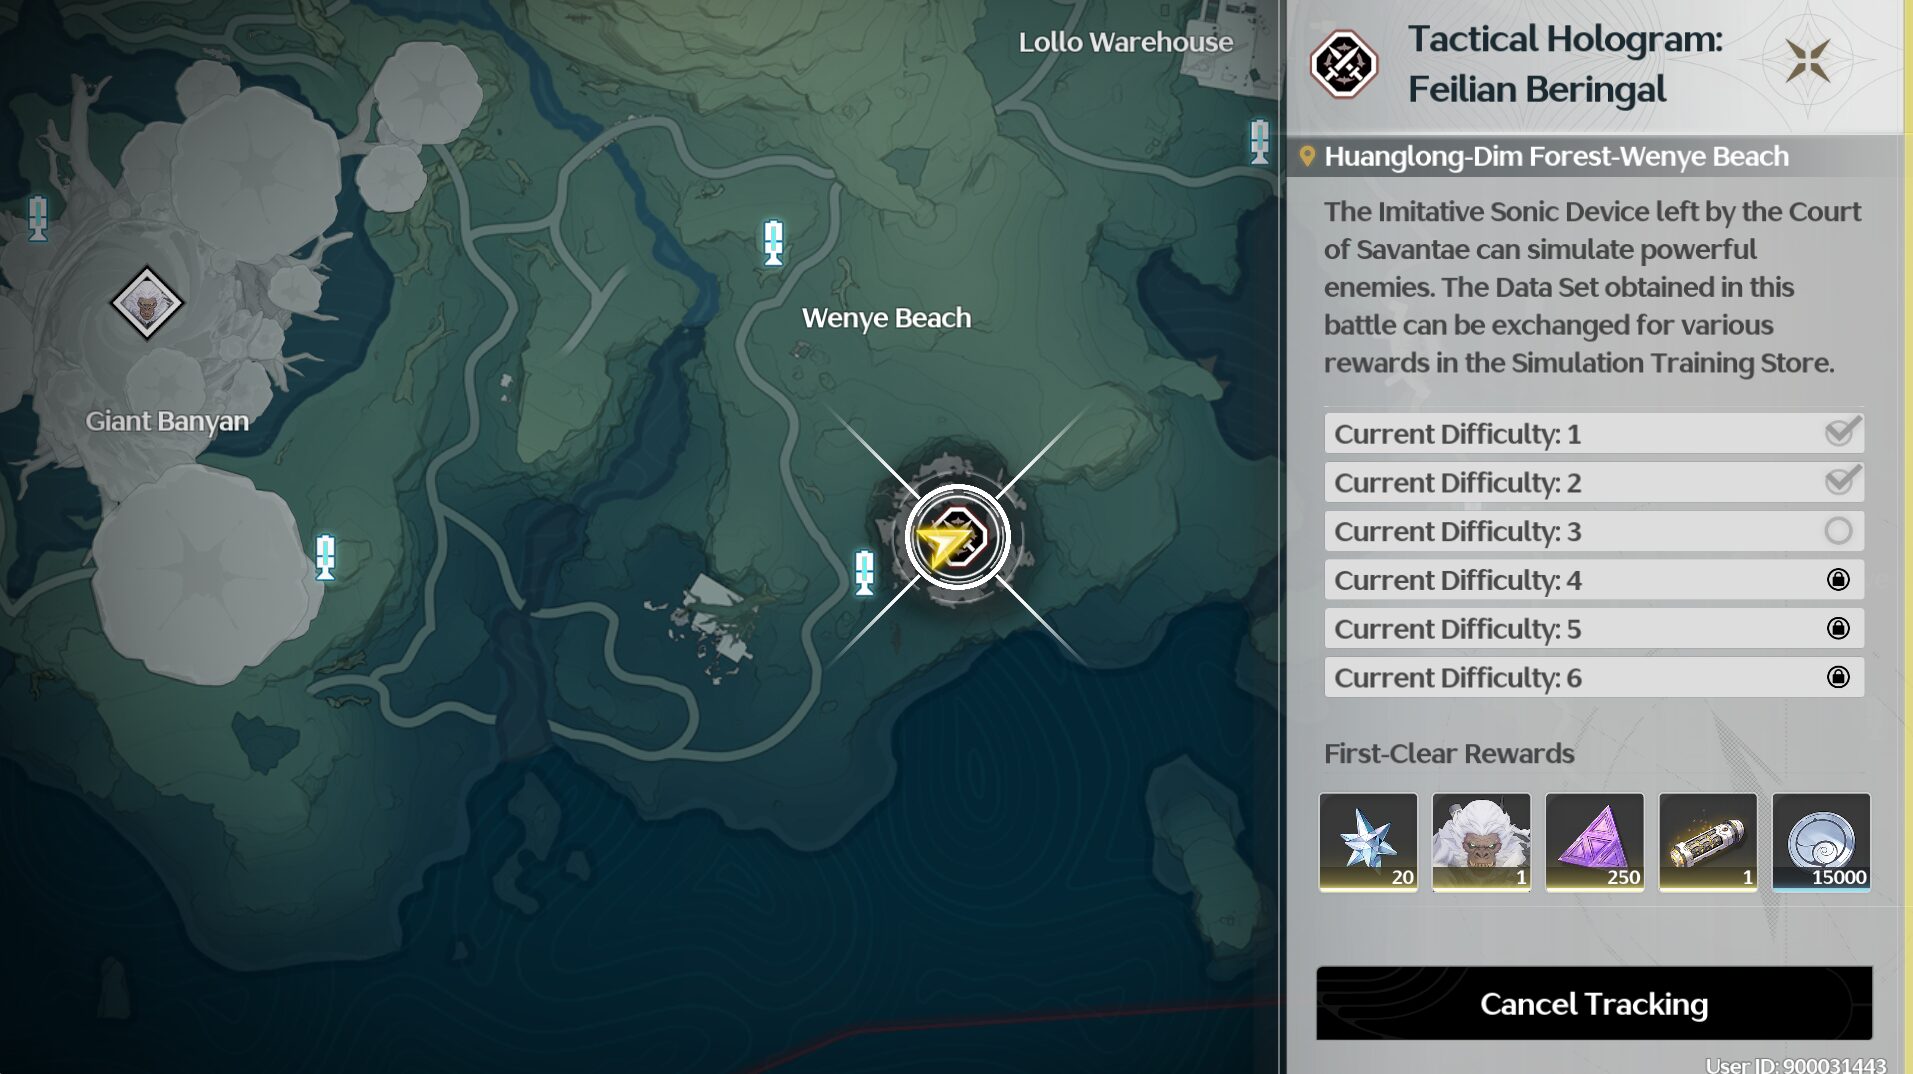
You can find the Tactical Hologram: Feilian Beringal south of Wenye Beach in Dim Forest. It's near the real Feilian Beringal boss in Giant Banyan.
Different Difficulty Leads to Different Movesets
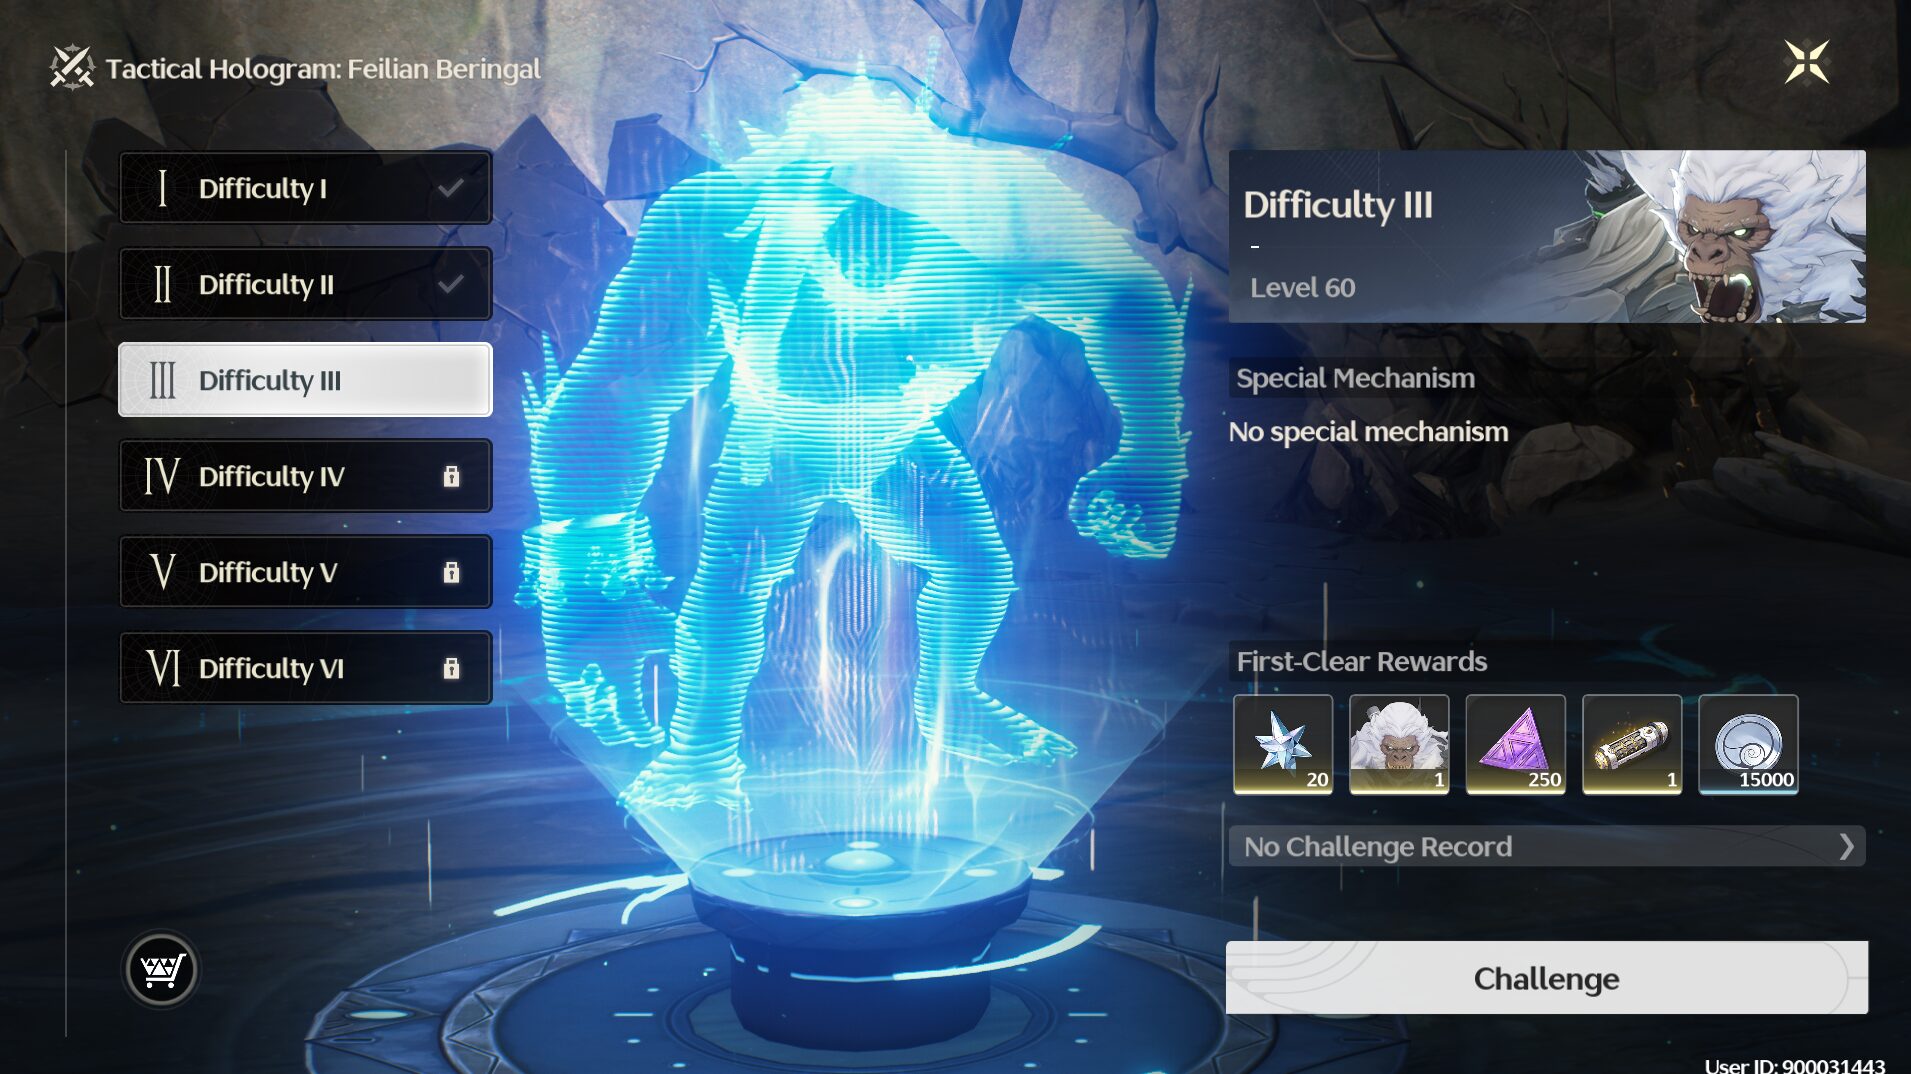
As you can see in the image above, there are 6 different difficulties for one Tactical Hologram challenge. Each difficulty featured different levels of the boss, and the attacks they use are also different depending on the level. The higher the difficulty, it will have a special mechanism.
Check here for the Special Mechanisms
[War Cry] 3 minutes after the battle begins, Feilian Beringal will increase its ATK by 50% every 10s, stacking up to no limit.
[Formation] If the Character is in full HP, Intro Skills will increase the enemy's Vibration Strength Reduction Rate by 5% on hit for 15s, stacking up to 20 times.
[Defection] After every 10 Dodge Counters, the next attack will additionally deplete the enemy's Vibration Strength by 30%. This timer is reset when attacked.
Preparation Before the Battle
Choose the Right Attribute and Weapon

Feilian Beringal has increased RES to Aero DMG, so try not to bring any Aero characters (especially for your Main DPS)
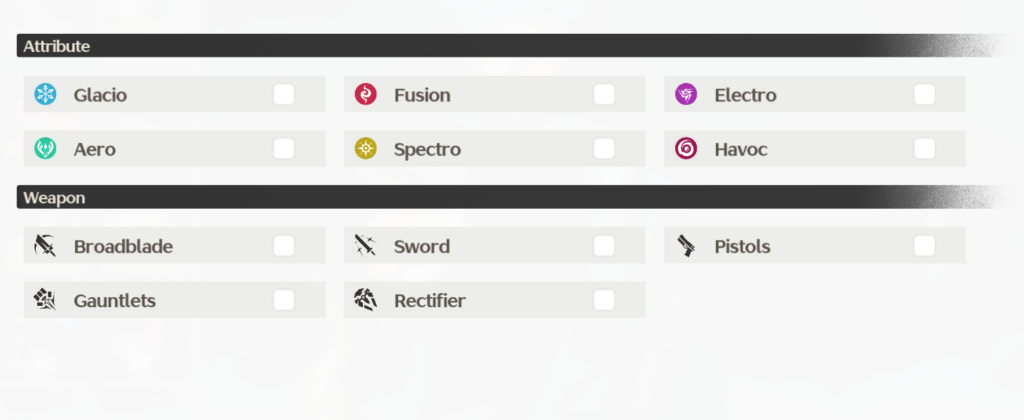
Unfortunately, there's not that many attacks that can be parried for this boss, so you can bring any Weapon-type Resonators that you are comfortable with.
Craft Potions and Cook Dishes Beforehand
If you have a skill issue (like me), you can opt to consume dishes beforehand to instantly buff your teams, such as food that gives you extra ATK or Crit Rate buffs.
Aside from dishes, you should also bring any potions - like the Revival Inhalers - to the battle because the boss' attacks, especially in the late difficulty, hit like a truck and may one-shot your character if they're squishy or have low health.
Some of the recommended consumables include:
| Dish/Medicine | Boosts | Boost Type |
| Morri Pot Jinzhou Maocai Wuthercake Kudzu Congee Shuyun Herbal Tea | ATK / Crit Rate / Crit DMG | Offensive (Dish) |
| Crispy Squab Rising Loong Candied Caltrops Caltrop Soup Star Flakes | DEF / Max HP | Defensive (Dish) |
| Harmony Tablets Drummer Solvent String Solvent Spectro Petrol Glacio Petrol Electro Petrol Aero Petrol Fusion Petrol | Elemental Damage Bonus / Energy Regen / Concerto Energy Gain | Offensive (Medicine) |
| Vigor Tablets Passion Tablets Havoc Resistance Spray | Elemental Resistance / Energy Regen / Concerto Energy Gain | Defensive (Medicine) |
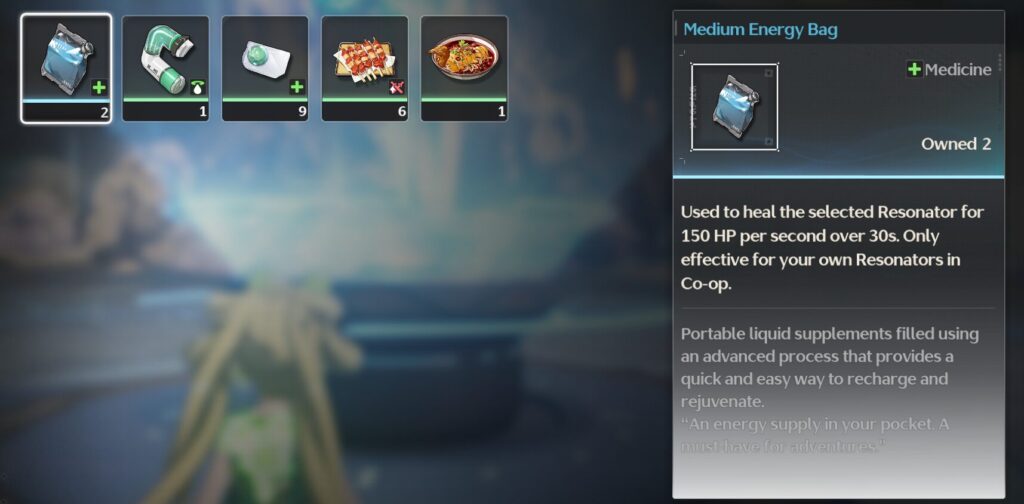
| Premium Energy Bag Advanced Energy Bag Medium Energy Bag Basic Energy Bag | Healing | Healing (Medicine) |
Feilian Beringal Skill Set
Note: This guide is based on Difficulty 6 Level 90. Please refer to the Special Mechanism above for Difficulty 5 and above. Not all skill sets will be added here, mostly the notable ones only.
Phase 1
Avoid the Arm Attacks Before Parrying
First, Feilian Beringal will try to attack you with its right arm. If you manage to avoid it (which you should), it will continue with trying to grab you with both arms. That's the right time for you to parry. Reminder that if you're TOO close to it when it tried to grab you with both hand, it won't be able to grab you, but that's a waste of opportunity so aim to parry this instead.
Difficulty 6 Note: In Difficulty Level 6, after its right arm attack, the boss will create 2 phantom monkeys that will create shockwave at your direction. You can't parry this so be sure to avoid them.
Avoid the Tantrum Attacks
The boss will throw tantrum by slamming the ground to create shockwaves. It will start with right arm > left arm > both arm. Make sure to pay attention to its arms and evade the moment its arm landed on the ground. Remember that there is a large damage window after its third slam so before that, try to evade in its direction instead of away from the boss so you can dish out your damage immediately after the attack ends.
Although as the difficulty level increases, the number of times the boss slams to the ground also increases.
Phase 2
Avoid the Log Shockwaves
Where there's only one-third of its health, Feilian Beringal will enter phase 2 with different movement set (In addition, this move will also be triggered every time after the boss is immobilized (white stagger bar fully depleted)). The first one is where it will takes out a log and stand on top of it while slamming to it to create shockwaves on the ground. The shockwaves can be avoided right before it reaches you. Distance plays a role in evading these attacks so when the boss takes out its log, try to create a medium distance between you and the boss so you can avoid those shockwaves much more easily.
The amount of shockwaves also increase as the difficulty level increases.

At Difficulty 6, it's not over yet! Once the boss drop down from its log, 4 phantom monkeys will spawn one-by-one and these abominations also can't be parried so you need to watch over your surrounding and immediately evade after seeing the monkey spawn and roar towards your direction (signalling that it will clap to create a shockwave).
Avoid/Parry the Tantrum Attacks #2 But This Time With A Log
The boss will throw tantrum again but this time he has a weapon which is a log. This attack pattern has 2 variants depending on if you manage to swing the first one or not.
It will swing the log > if you did NOT parry this > it will slam the log down to the ground and spawn 2 phantom monkeys to attack you.
If you manage to parry the first swing, you can immediately stop it from slamming the log down and no phantom monkeys will be spawned. In other words, pay attention to the timing of the swing to either parry or dodge it.
Glide Into the Air to Avoid the Spinning Log
When the boss lets out a roar, that means it will start spinning while holding the log. At this moment, there will be an updraft (wind current) that can withold your body so jump and glide to avoid this attack. The boss will spins counter-clockwise 6 times moving towards you.
Other method is to just avoid the log everytime it almost hit your character. This is a risky move so I recommend gliding if you're having trouble avoiding it.
Difficulty 6 Showcase
All Rewards From Tactical Hologram
| Difficulty & Level | Rewards |
|---|---|
| Difficulty 1 (Level 45) | Astrite ×20 Feilian Beringal (4 Star) Data set ×200 Advanced Sealed Tube ×1 Shell Credit ×10,000 |
| Difficulty 2 (Level 55) | Astrite ×20 Feilian Beringal (4 Star) Data set ×200 Advanced Sealed Tube ×2 Shell Credit ×15,000 |
| Difficulty 3 (Level 60) | Astrite ×20 Feilian Beringal (5 Star) Data set ×250 Premium Sealed Tube ×1 Shell Credit ×15,000 |
| Difficulty 4 (Level 70) | Astrite ×20 Feilian Beringal (5 Star) Data set ×250 Premium Sealed Tube ×1 Shell Credit ×20,000 |
| Difficulty 5 (Level 80) | Astrite ×20 Feilian Beringal (5 Star) Data set ×250 Premium Sealed Tube ×2 Shell Credit ×20,000 |
| Difficulty 6 (Level 90) | Astrite ×20 Feilian Beringal (5 Star) Data set ×150 Premium Sealed Tube ×2 Shell Credit ×20,000 |