Table of Contents
This guide is aimed at people who want to get into Wuthering Waves.
Whether this is your first Gacha or not, it will contain all the basics inside and outside the tutorial; more simplified and straightforward explanations with some examples.
Disclaimer:
The information and images from this guide are from CBT2 and some additions from feedback prior to the 1.0 release.
If you see text in BOLD, it's a key piece of information about the system that you must keep in mind.

Movement
The main features of this system are:
- Sprint doesn’t consume stamina outside of combat
- You have a grapple that covers medium-tall distance (consumes stamina)
- Mid-air jump (consumes stamina and resets once you touch the ground)
- Wall-running (depletes more stamina but lets you climb faster)
- More control over your movement while sliding off an incline
- While wall-running, if you hit a roof ledge, your character may grab from it and lift themselves above it.
- When you stop gliding, if you hold any movement input (WASD) you’ll still move towards that direction as you fall. You can also stop at any time.
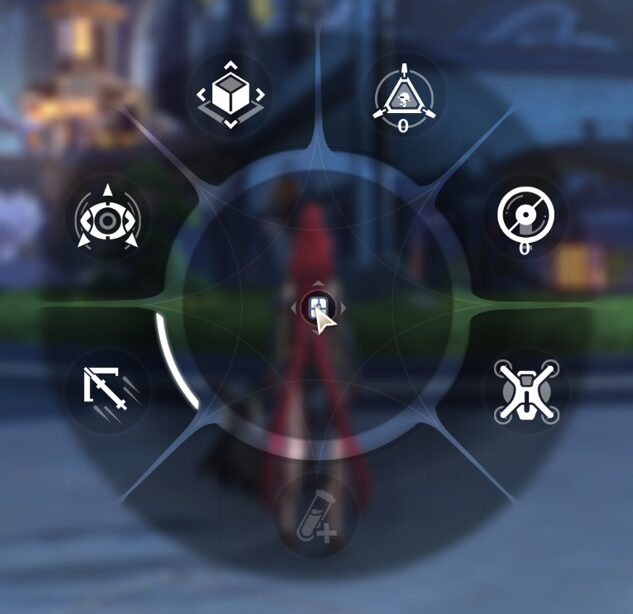
- The Gadget Menu can slow-time as you pick a tool
Exploration
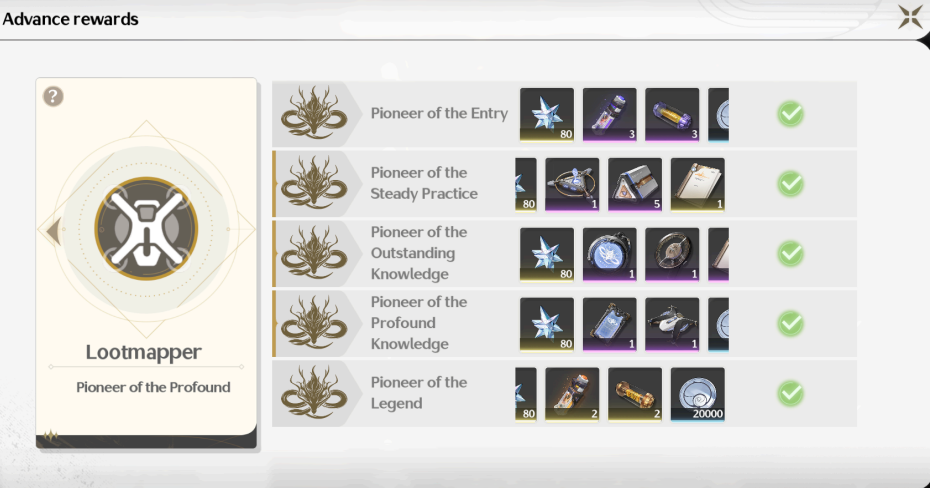
As for exploration, everything is divided in zones and %s for each one, increasing based on chests and puzzles you complete. Your progress will reward you points every 20% up to 80% per zone at the Pioneer Association. After reaching a certain amount of points, you’ll unlock new gadgets and recipes that will help your exploration and speed things up in other regions!
Relics
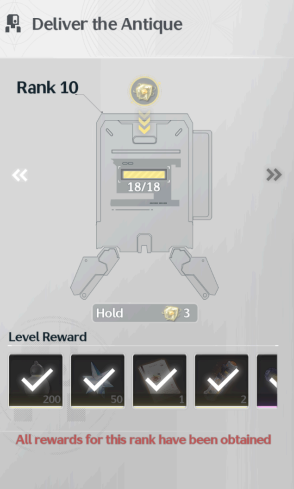
While exploring, you might find Sonance Caskets. They are collectables you can find around each nation. You’ll hand them over to an NPC per nation and after every set amount of them, you’ll rank up and gain rewards. These rewards contain Resonance Chains for your Rover (Main Character).
Combat
Characters, also known as Resonators, hold an attribute, while the Main Character “Rover” can hold all elements.
Characters don’t deal “Physical damage”, instead they do their elemental damage in all attacks except Echo Skills. We’ll cover Echoes later.
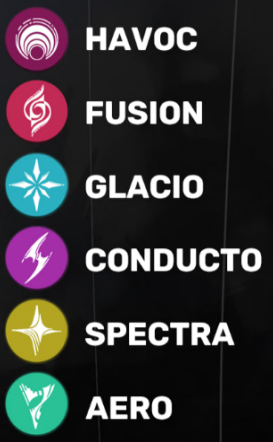
As for attributes there are:
- Spectro (Light)
- Havoc (Dark)
- Fusion (Fire)
- Aero (Wind)
- Glacio (Ice)
- Electro
Note: after CBT1, they scrapped their “elemental system” for Intro and Outro skills entirely.
Enemies
Enemies are divided into 3 types: Common, Elite and Overlord/Calamity-class.
Each one contains a different and more proactive moveset, some small even use special abilities that help other common enemies. There are pure-elemental enemies that are immune to their element while some are more resistant to their own element. This resistance system also applies to bosses.
Enemies’ Stagger and Vibration Strength
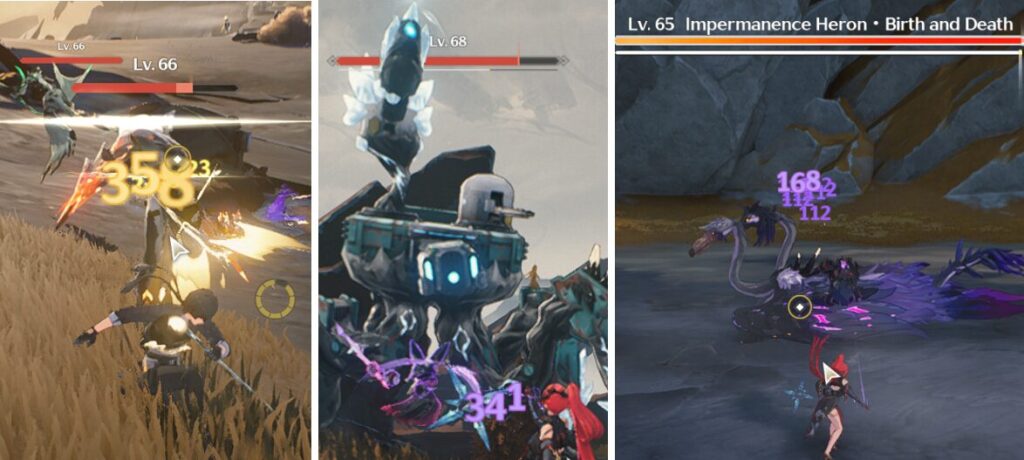
Elite and Overlord-class have a STAGGER meter, this is called Vibration Strength. Once depleted, the enemy will be Immobilized and open to all attacks. By dealing Vibration Damage through Heavy Attacks, certain Skills and/or Counter attacking their flawed attacks, you can deplete this meter faster. Once depleted, you’ll have a set amount of time for damage until the enemy fully recovers. This is VERY important for the endgame as well as knowing when can characters parry flawed attacks.
Note: Parrying does NOT deal additional damage, deals increased vibration damage proportional to their vibration strength.

Flawed Attacks
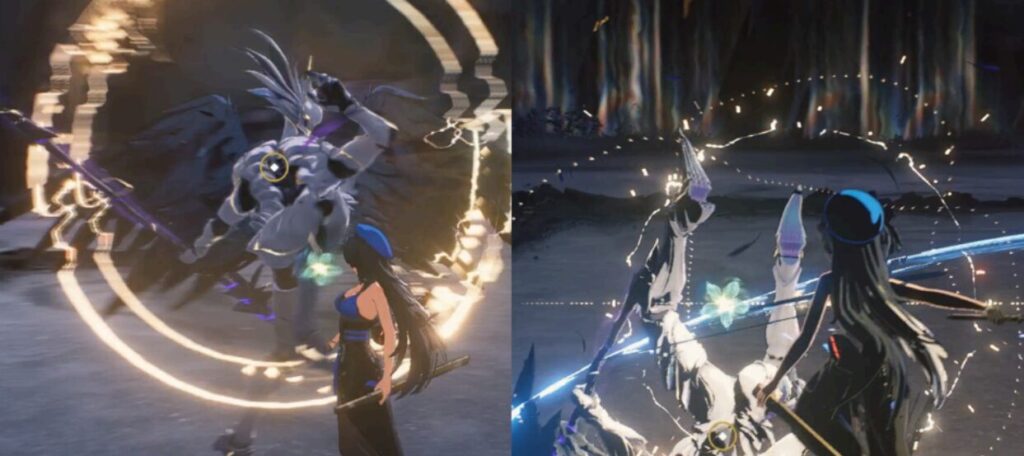
Flawed Attacks are highlighted by a golden ring on certain enemies' attacks. These attacks can be parried by attacking at the right time- dealing Vibration Damage to the enemy’s Vibration Strength.
Materials
There’s so far 4 different materials used for weapons, abilities, etc; each associated with a different kind of monster which i’ll categorize in an unofficial manner to simplify them:
- TD-Core (Discorded Monsters)
- Cell-Core (Infected Animals)
- Rings (Humanoids/Rebels)
- Masks (Fractsidus faction)

Dodging
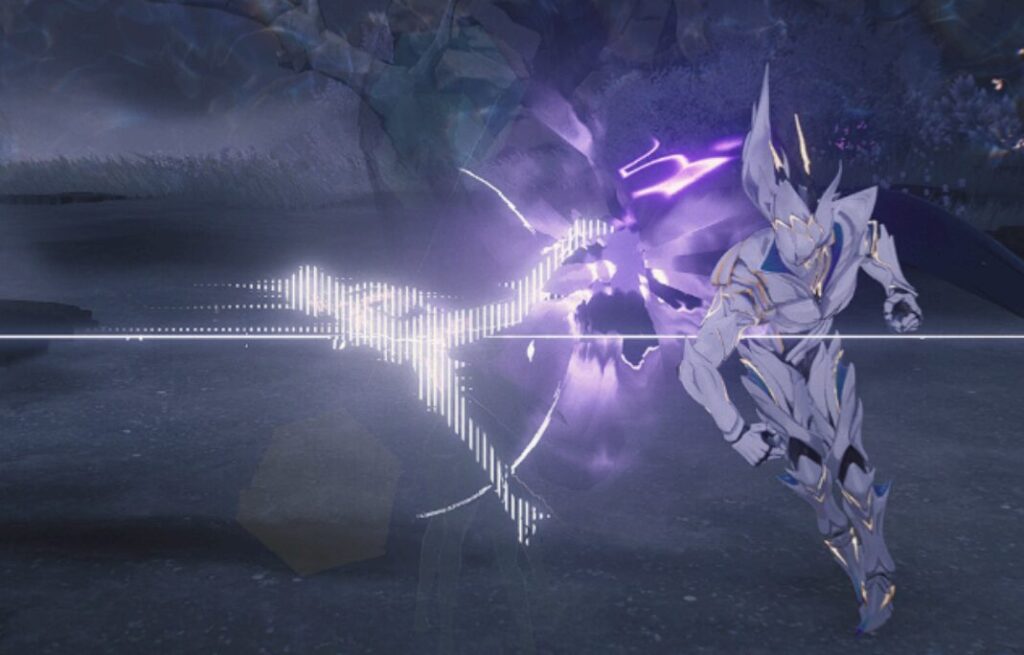
If you dodge at the right time during an attack, you’ll trigger Extreme Evasion.
This will slow time for a brief moment and allows you to skip to the last step of your Normal Attack combo. Your i-frames (frames of invincibility) will stay as long as you DON’T attack and keep dodging. You may only dash to dodge twice before it enters on an internal cooldown.
Swapping characters can reset this internal cooldown.
Note: Attacking after a dodge counts as a Basic Attack.
Character Systems
Characters are divided in different sections to make things simpler.
- Weapons
- Normal, Heavy and Plunge Attacks
- Forte Circuit and Fortes
- Intro and Outro Skill
- Resonator Skills and Liberation
- Resonance Chain
Weapons
There are 5 different weapon types: Sword, Broadblade, Gun, Rectifier and Gauntlets.
Each one having a different playstyle, animation and attack pattern as well as amount of Normal Attacks.
Note: All weapons can mine any kind of ore or break any stone. Certain weapon types, such as Guns and Rectifiers, have different methods to parry or cannot parry at all. Some are through plunging attack, some are through skill.
Normal, Heavy and Plunge Attacks
Normal attacks have a pattern of 3 to 5 or more attacks.
Heavy attacks consume a set amount of stamina, some deal higher vibration damage and require you to hold your attack button.
Plunge Attacks can be done on the spot by jumping and attacking.
Landing any of these will grant you energy towards 3 things: Forte Circuit, Concerto and Resonance Liberation.
Note: If you have absolutely no idea as to what your character does, there’s a tutorial button at the bottom right of your character’s menu screen. It sends you to an instance and explains all the abilities and rotations in basic detail. This guide section will cover the basic terms and how everything interacts with each other.
Forte Circuit
Every character has an unique Forte Circuit that defines their playstyles entirely. Some Forte Circuits are activated through their Skill as you Press or Hold, some through Heavy Attacks. This mechanic is unique to each character and it’s core to their playstyle and rotation as you swap in and out your party mid-combat.
Note: If the Forte Circuit has a set duration, you can swap between characters and this Circuit will remain active even if you swap back to that character.
For example: Rover, after completing their normal attack pattern, they’ll fill their Forte Circuit significantly. Their Forte Circuit can be filled up to 2 meters. Using your Resonance skill, consumes 1 meter and allows their skill to perform a different version, dealing more damage and changing its animation and amount of hits.

Another example is Yangyang’s Forte Circuit: After completing a normal attack pattern or a heavy attack or Resonance skill or Intro skill, she’ll fill 1 out of 3 meters of Forte Circuit. Once you have all 3 meters filled, her next Heavy Attack or Intro skill will activate her Forte Circuit, releasing a flurry of slashes mid-air into a Plunge Attack.

Sanhua’s Forte Circuit Skill: As you hold your Heavy Attack, you must time it within a certain part of the Forte Circuit gauge like a Quick-Time Event. This part becomes bigger as you use her Resonance Skill and Resonance Liberation, leaving a trail of ice, you can break this trail with a well-timed Heavy Attack to shatter it and deal AoE Glacio damage.

Your Fortes also have upgrades in two forms:
Upgrading Normal Attacks, Resonance Skill, Resonance Liberation, Forte Circuit and Intro Skill base values.
After the 1st Ascension and beyond, you can unlock a 1-time upgrade on each of these abilities. For Normal Attacks, Skill, Liberation and Intro Skill, you’ll gain a multiplier or effect on top of the base values (ATK% increase or Crit Rate%).
Forte Circuit gains additional effects instead of multipliers that can radically affect your playstyle and the character’s potential in combat.
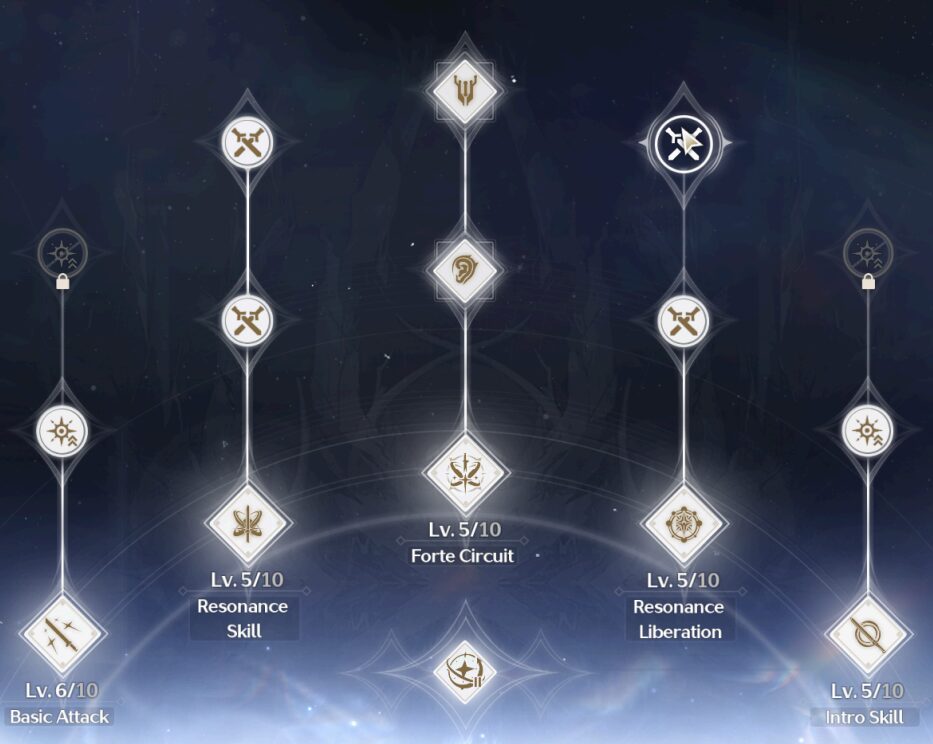
Materials used for all these upgrades are a mix of enemy materials, weapon materials and weekly materials.
Note: By 1-time, you only need to unlock it once and that’s it. It doesn’t have any multiple upgrades unlike your other abilities.
Intro and Outro Skills
As said before, CBT2 scrapped the Elemental System for the Intro and Outro system, allowing a more dynamic and strategic playstyle by reducing the Party Size from 4 to 3 characters and focusing on a proactive playstyle. What does that mean?
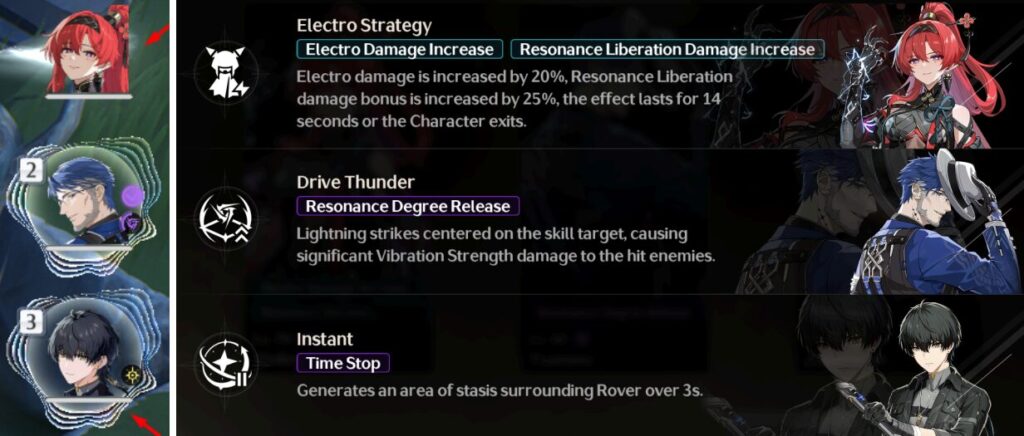
By landing any attack, dodging and parrying, you gain Concerto Energy. Once full, swapping to any character will activate the Intro skill of whoever you’re swapping in (Damage) while activating the Outro skill of whoever got swapped out (Buffs the active player).
Keep in mind that only 1 Outro Skill may be active since most of their effects are removed once you swap whoever just went into battle.
Intro Skills: Most of them are self-explanatory, they swap-in and deal damage. However, Intro skills can activate and affect some characters’ Forte Circuit, like gaining energy to activate their Forte Circuit.
Outro Skills: This skill is probably the most important for team compositing, as some are direct buffs or elemental buffs to whoever you’re swapping in or special skills like Vibration Damage.
These buffs are removed once you swap to a different character or until its duration ends.
Resonance Skills and Resonance Liberation
Resonance skill, along with their Force Circuit, is what defines a character’s role in the party. By enabling other characters, creating a shield, generating their own energy off the field, disrupting the enemy in some way or even dealing damage with coordinated attacks off the field. There’s a wide variety of skills which flourish even more when their active character uses it with their Force Circuit.
For example: Yinlin’s skill enables her Normal Attacks to deal increased damage and fill her Forte Circuit. Once full, if you perform a Heavy Attack, she’ll mark enemies around her. Any damage taken by marked enemies will perform a coordinated attack and each mark has their own independent cooldown between attacks.
Another example is Yuanwu’s skill: Tapping the skill places a totem with a radius, which fills his Forte Circuit. Any damage dealt within the radius performs a coordinated attack. Once his Forte Circuit is full, holding the skill will enable him to deal more damage, and if there’s any totem, it will consume the totem dealing Electro damage to nearby enemies. This totem may remain while Yuanwu is off the field and his Forte Circuit will continue filling as long as the active character remains within the radius.
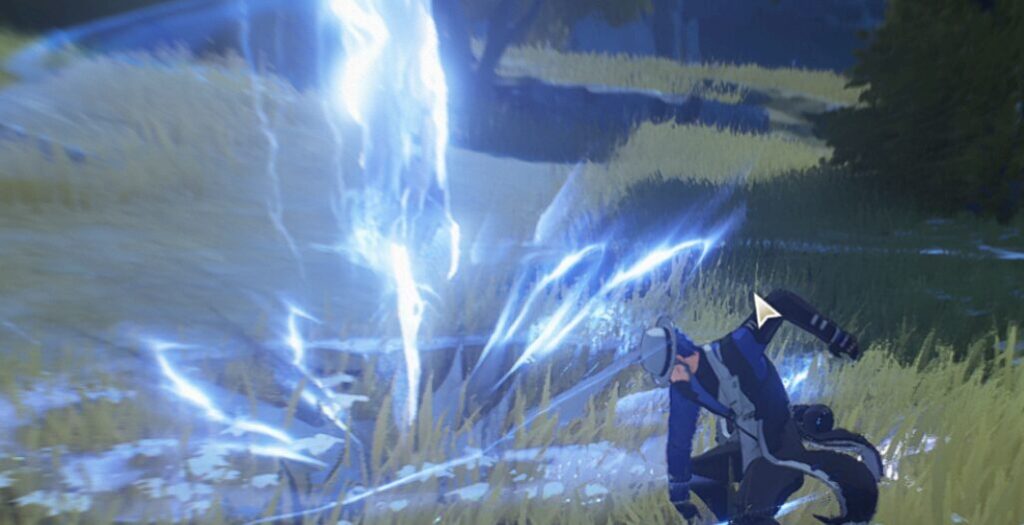
Resonance Liberation, also called “Ultimates”, are the character’s signature move, dealing massive damage in a short-animation with low amounts of i-frames OR they could enable the character’s kit like Skill, Forte Circuit and Normal Attacks. Keep in mind that animations are short, they’re not as reliable as dodging in terms of i-frame usage. Similar to skills, this ability can also benefit the character’s Forte Circuit while aiding other active characters.
Note: Some Resonance Liberations that buff the character for a set duration will still affect the character even when swapping between characters.
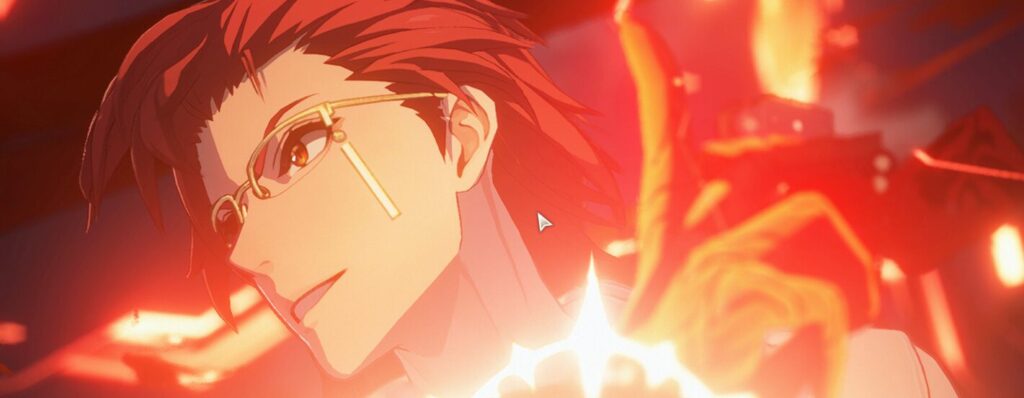
For example: Mortefi’s Resonance Liberation enables all party members to deal Fusion damage as he stays on OR off the field. Swapping out and triggering his Outro Skill will increase all party member’s Heavy Attacks damage as well as filling Mortefi’s Forte Circuit.
Resonance Chain
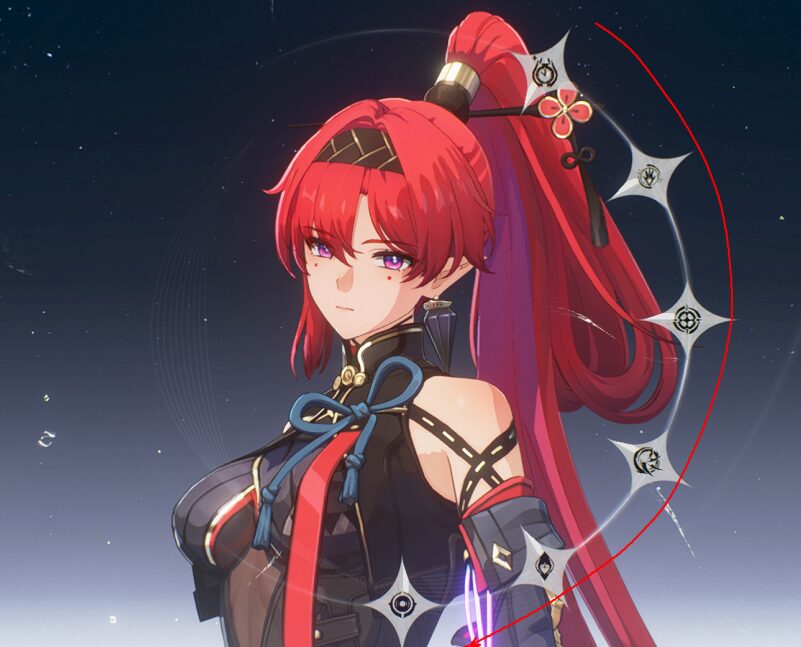
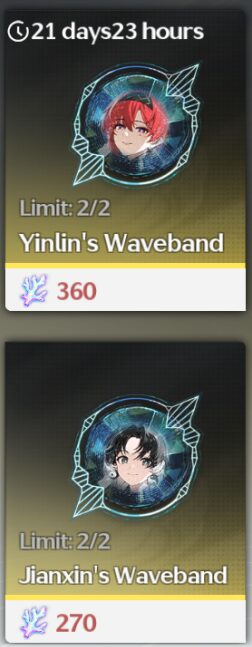
When obtaining a duplicate character from the Gacha or event, you'll receive a waveband of said character. You can spend these wavebands to unlock a Resonance Chain from that specific character. The order of Chains starts from top to bottom.
In Wuthering Waves, all Chains contain an additional effect, some add towards the character’s Resonance Skill or Liberation, some simply add a multiplier on top of the skill when certain conditions are met or buffs the whole party for a set duration after using a specific ability.
As for the Rover’s Resonance Chain, they’ll be unlocked through exploration, the relic system and main story.
For example: Yuanwu’s Resonance Liberation deals 50% additional damage when his Resonance Skill is on the field.
Keep in mind, Standard Banner characters can be purchased through Afterglow Corals- which is a currency you obtain from duplicate items or through gacha naturally.
Note: You can also buy the current promotional banner’s Resonance Chains through this store up to 2 times. You MUST own the character to be able to do this. Standard Banner characters can be purchased up to 2 times with no refreshes.
Echo System
The Terminal
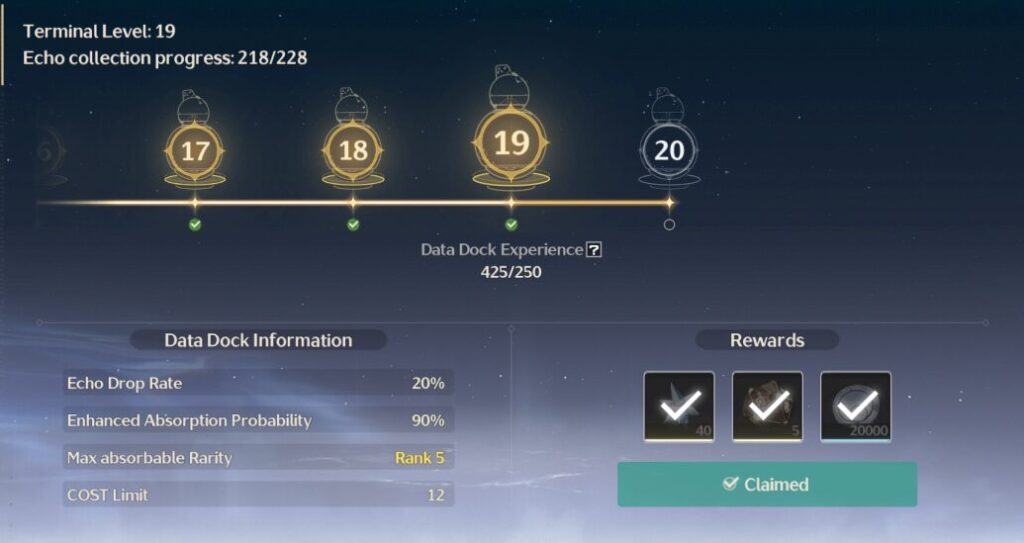
It’s a device that lets you capture echoes left by defeated enemies. All enemies have a 6% chance to drop their echo. The Terminal’s level increases the drop rate and rarity at which it drops.
There’s Rank 1 through 5 in rarity. Think of them as 1* to 5* rarity with items.
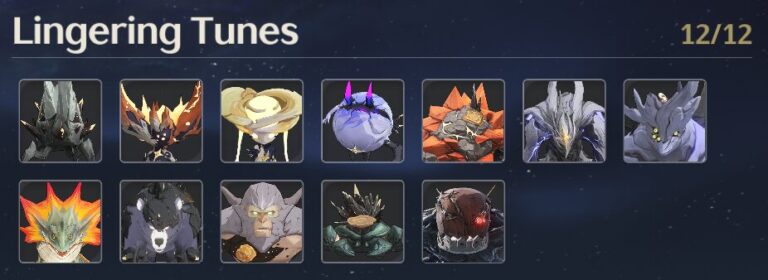
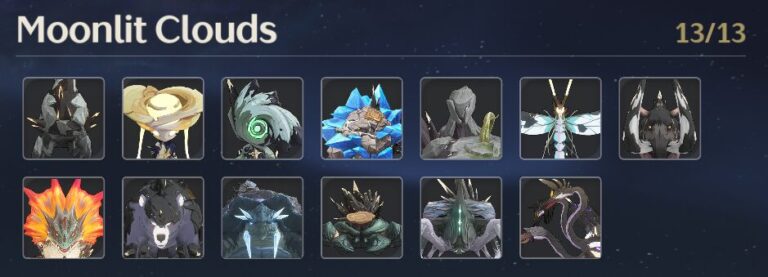
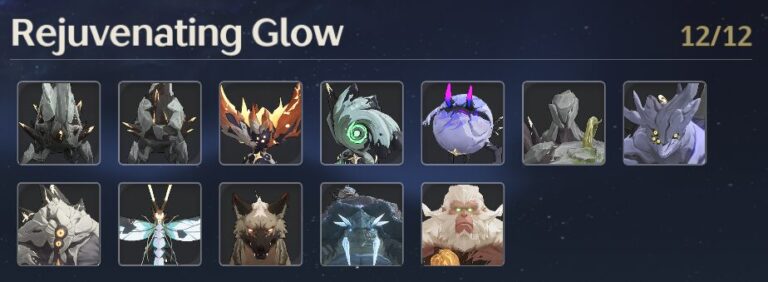
To Level your terminal, you must catch 1 Echo of each enemy. The rarer the Echo, the more EXP for your terminal. Think of it as a “Catch them all” minigame.
Every few levels, starting from Lv0, will increase the drop rate up to Lv10 at 20% chance and the max. Rarity of the echo, as well as a % chance to be said max. Rarity.
This means if you don’t get the echo, try again. If you get the echo but you DON’T get the max rarity, you get the one below it. So if your max rarity is a 5* and you don’t get a 5* echo, you get 4*. Same applies for every rarity/rank.
Note: Once your Databank is Lv21 at Union Level 40 or above, all obtaind Echoes are 5*.
You can get a set amount of enhanced drop rates per day for Overlord and Calamity-class bosses to get their echoes at max. Rarity based on your Data Bank level
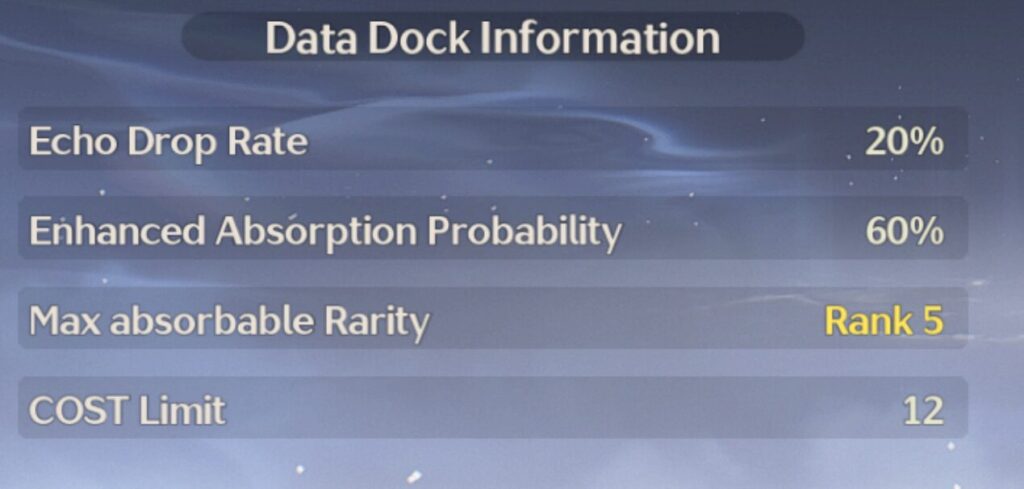
Your terminal won’t level up if your Union Level isn’t high enough. Make sure you level your Union Level first, then your Terminal. You can check your data bank and see which echoes and their ranks you’re missing.
The highest rarity that can grant EXP to your terminal are 4* Echoes. Make sure to collect them once your Terminal Level is high enough.
Your terminal ALSO gives you rewards from leveling it. Such as currency towards Gacha, +10 max Stamina up to Lv10 and a 60 Wavematter Refresh every few levels and more!
Echoes
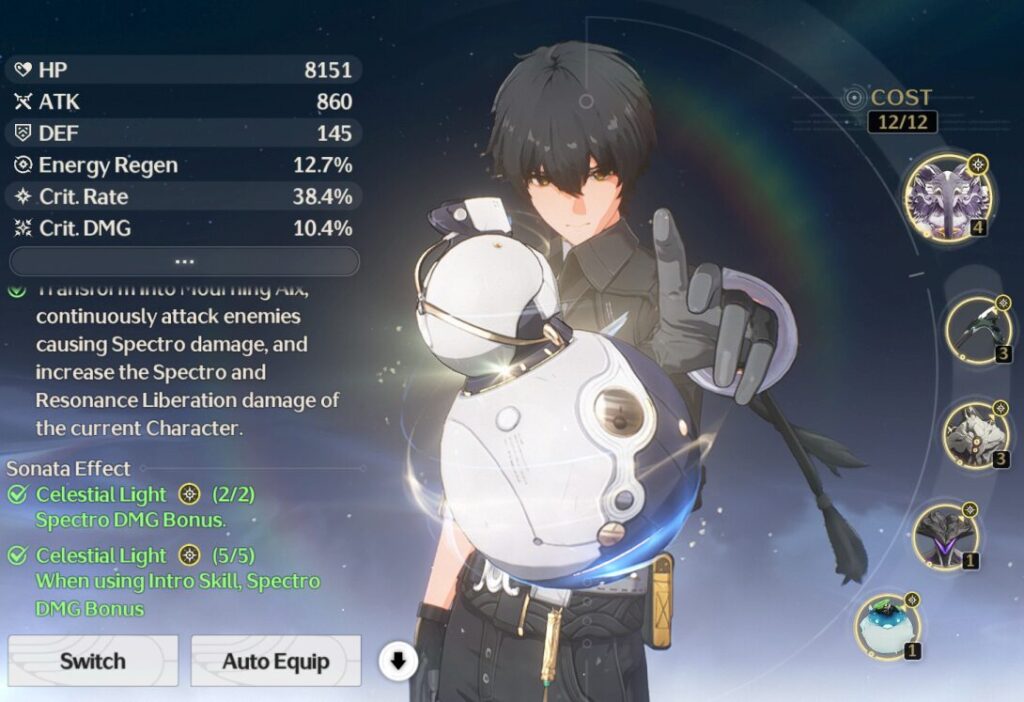
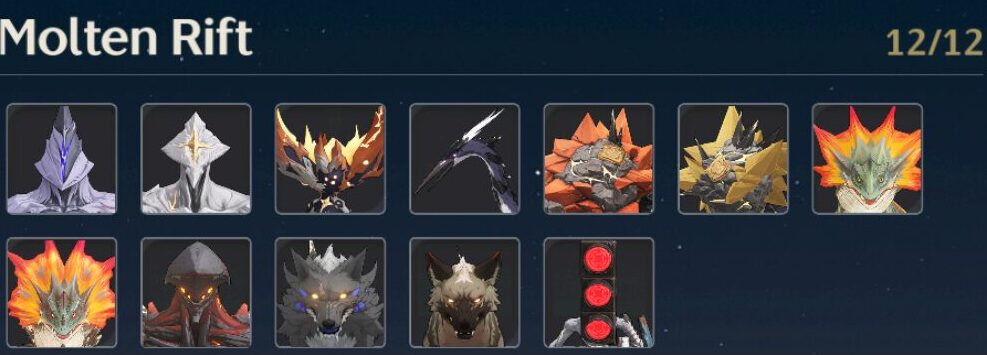
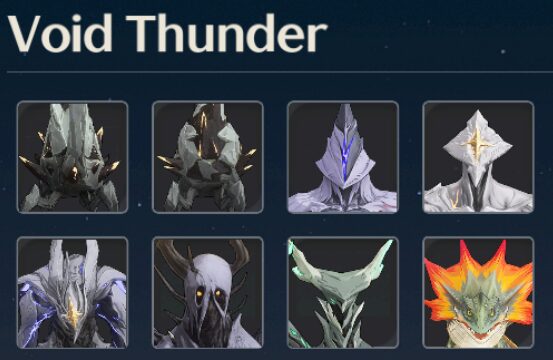
Echoes work in sets, each one containing different effects. Said effects only take place if you have 2 and 5 echoes of the same set.
Note: Each echo must be unique. If you equip the same echo twice, you won’t get your 5-piece effect. However, the “Shiny” version of an echo counts as a different echo.
Out of your 5 Echo slots, your first slot allows your Echo to use their Echo Skill!
A new feature was added on 1.0, where you may now recycle echoes into random ones at a 5:1 conversion rate with a chance for additional ones and the rarity is based on your Data Bank’s max rarity.
All echoes have a predetermined skill, whether it's a transformation, summon, heal or any damage of sorts, they will always have their own skill.
The damage dealt is NOT the same as your Resonator, their damage is based on their natural element. If the Echo is an Aero monster, it’ll deal Aero damage.
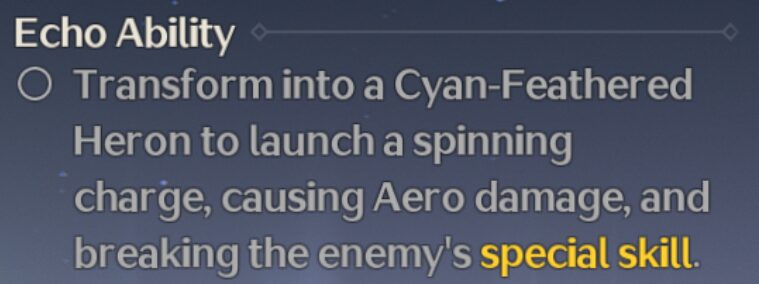
However, you can use an Echo skill and when timed correctly with the Echo skill’s animation, you can swap to another character and the Echo skill will still remain on the field until its animation is over as you have full control of the character you swapped in. This way you can make the most out of the Echo and your party.
Also, some Echo skills can Counterattack the enemy, parrying their flawed attacks and dealing vibration damage. However, it must be stated by the Echo skill, not all skills can do this.
For more information related to Echo Skills, check out my Echo Tier List guide!
Cost System
There’s also Costs. Your characters start with 8 Cost capacity and go up to 12 as you level up your Terminal. This cost increases to 10 at Lv2 and to 12 at Lv9.
You can place either Cost 1, 3 or 4 echo on your first slot as your echo skill and it won’t affect your set’s effect.
Cost 4 echoes are World Bosses which you kill for Character ascension material, they can be farmed every few minutes indefinitely.
Cost 3 are Medium enemies with Vibration Strength (Stagger), they’re limited in quantity per day so you better farm them daily and in co-op with friends or strangers.
Cost 1 are Small enemies, they’re everywhere around the map in higher quantities than Cost 3. Because of this, they’re the easiest to farm most of the time.
Although, you cannot stack more than 2 bosses in a set, you’ll have to manage them as you see fit. Ideally, your Echoes should be:
Early game: 4, 1, 1, 1, 1
Mid-game: 4, 3, 1, 1, 1
Endgame: 4, 3, 3, 1, 1.
Keep in mind that rarity plays a HUGE factor as it affects base stats and substats.
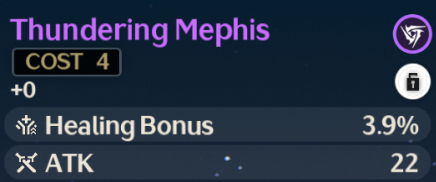
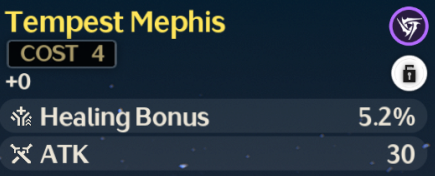
If you wish to know more about Echo Sets and Sonata Effects, here's a guide covering those them!
Main Stat and Sub Stats
Each echo has 2 main stats, the first one is RNG, the second is predetermined. Depending on the cost, their first main stat can roll into a different list of affixes and the second stat will always be the same.
Cost 4 Echoes have ATK as their second stat and can roll into:
- Crit Rate
- Crit Damage
- ATK, DEF or HP
- Healing Bonus
Cost 3 Echoes have ATK as their second stat at a lower amount and can roll into:
- Elemental Bonus Damage (of any element regardless of the set)
- ATK, DEF or HP
- Energy Regen
Cost 1 Echoes have HP as their second stat and can roll:
- ATK, DEF or HP
This generally simplifies the grind and each cost, based on their set, makes grinding for certain elements harder or easier. This will change as new sets and monsters get introduced!
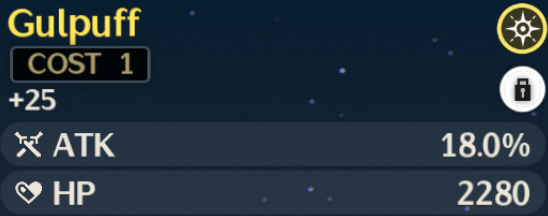
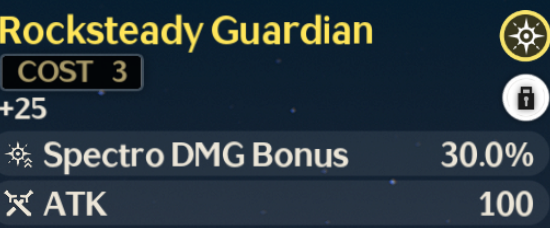
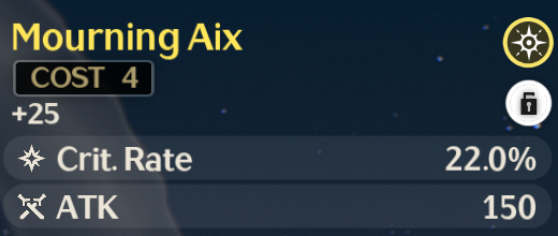
Here's a guide that covers all the main and sub stat related content.
Rank | Rarity
Depending on the rarity, 1* to 5* echoes, each has a max. Upgrade from +5 to +25. Each +5 adds a Tuning Slot. You must use Tuners equivalent to the echo’s rarity in order to unlock their substats. Tuners are acquired naturally by farming Echo EXP or by purchasing them from NPCs or shops. They can also be refunded if you use an upgraded Echo as fodder.
For example: If you have a 4* Echo, it can be upgraded up to +20. That grants you 4 Tuning Slots. You spend 4 4* Tuners and it’ll unlock 4 RANDOM substats from that echo.
As for substats, all echoes regardless of cost, can roll from this list of affixes:
- Flat HP, ATK or DEF
- % HP, ATK or DEF
- Bonus Heavy or Normal Attack Damage
- Bonus Resonance Skill Damage
- Bonus Resonance Liberation Damage
- Crit Rate
- Crit Damage
- Energy Regen

And yes, you can roll both Flat and % of the same stat (e.g ATK% and Flat ATK) and duplicate main and sub stat (e.g double Crit rate).
Note: All, if not most, sets share Cost 1 echoes across 3 different sets. This means that every drop is between a 33% or a 50-50 chance whether it's in the set you want or not. Not taking in account their main stat.
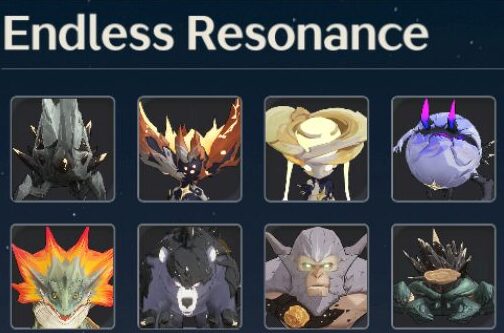
Wavematter
This is Wuthering Waves' stamina system and it's used to run certain content.
The cap for Wavematter is 240. You recover 1 Wavematter per 6 minutes and you can only refresh 6 times a day, every 2 refreshes increases the refresh price to 60/120/240.
Crystal solvents are consumables that recover 60 wavematter.
The minimum amount you can spend is 40 and the maximum is 60.

Here’s a list of content where you spend Wavematter:
- Training Zone: 40.
- Weapon | Forte materials: 40.
- Tacet Field: 60
- World Bosses: 60.
- Weekly Bosses: 60.
Training Zone gives you character EXP, weapon EXP and currency for upgrades and purchasing items!
Weapon and Forte materials are self-explanatory. If your character uses a Sword, their skills upgrades will also use the materials used for their weapons.
Tacet Fields is a small horde mode where you kill 3-4 waves of enemies, the last wave grants a buff and you obtain 1 and 3 Cost Echoes of 2 specific sets at random and Echo EXP based, the rewards rarity and amount is based on your SOL3 Phase and Data Bank Level.
World Bosses can be farmed for their Echo for free, spending Wavematter gives you materials for ascending characters as well as Echo EXP and some currency.
Weekly Bosses, these are unlocked based on the story and some are in the open or unlocked from a quest. They give you Weapon molds to craft 4* weapons and materials used to unlock Forte Circuits 1-time upgrades and high level upgrades for abilities. Weeklies can be done up to 3 times per week and they’re repeatable.
Union Level
You’ll start your journey at Union Level 1, all the way to 80.
Every 10 levels, you’ll gain rewards and your SOL3 (Overworld's difficulty) will advance in Phases from Phase Rank 1 to Rank 5.
For Example: You’ll start your journey at UL1, Phase Rank 1. Then level up to UL10 and go to Phase Rank 2.
Every 20 Union Levels, you’ll have to do the Phase Ascension Challenge at the Training Area. Simply fight bosses and Rank up your Phase.
As your Phase Rank goes up, so does enemies by 10 levels approximately and increases the drop rate and rarity of the drops. Echoes drop rate and rarity are not attached to Phase Rank, only your Terminal.
As for Union EXP, you obtain 150 Union EXP per 20 Wavematter spent. Main Story, Side Quests, Chests and Puzzles also grant Union EXP based on the rarity of the chest.
Discovering Echoes grant Union EXP based on their rarity.
Note: If you played during 1.0, the changes to echo granting Union EXP is retroactive!
Tower of Adversity (TOA) | Spiral Abyss
This is a high level, high difficulty game mode where you challenge a tower and its stages; considered as the "Endgame" by many players and developers themselves.
All of your efforts and grind come in play for this gamemode.
The Tower is divided into 3 different zones:
- Stable Zone (1 Tower, 4 stages)
- Experimental Zone (2 Towers, 4 stages each; 8 stages total)
- Hazard Zone (3 Towers, 4 Stages each except for 1 with 2 stages. 10 stages total)
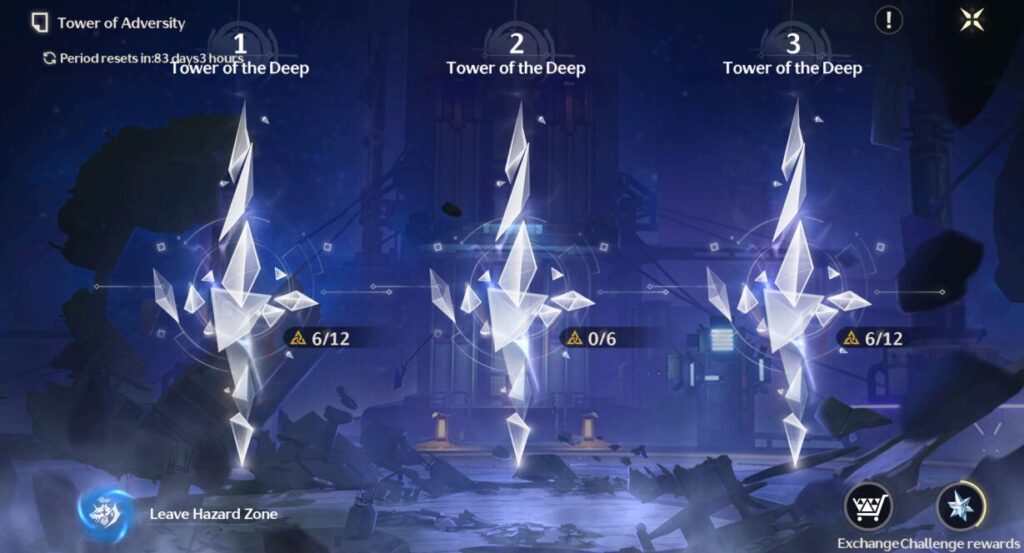
You must complete the challenge within the time limit and, based on the time it took you to clear, you’ll obtain stars, however, since each tower has different stages with different buffs and challenges, swapping compositions, characters and gear per stage is recommended.
Stable and Experimental are permanent stages with a set amount of stars and buffs that you can complete at any time with no rotation- while Hazard Zone rotates every few weeks or per patch, the time between rotations is currently unknown.
Experimental and Hazard Zone, since they have more than 1 tower, their other tower which contains enemies of the same level as the 1st, has 2 or more waves of enemies.
However, Hazard Zone has a middle tower with 2 stages. These contain HIGHER level enemies and bosses, starting at Lv100.
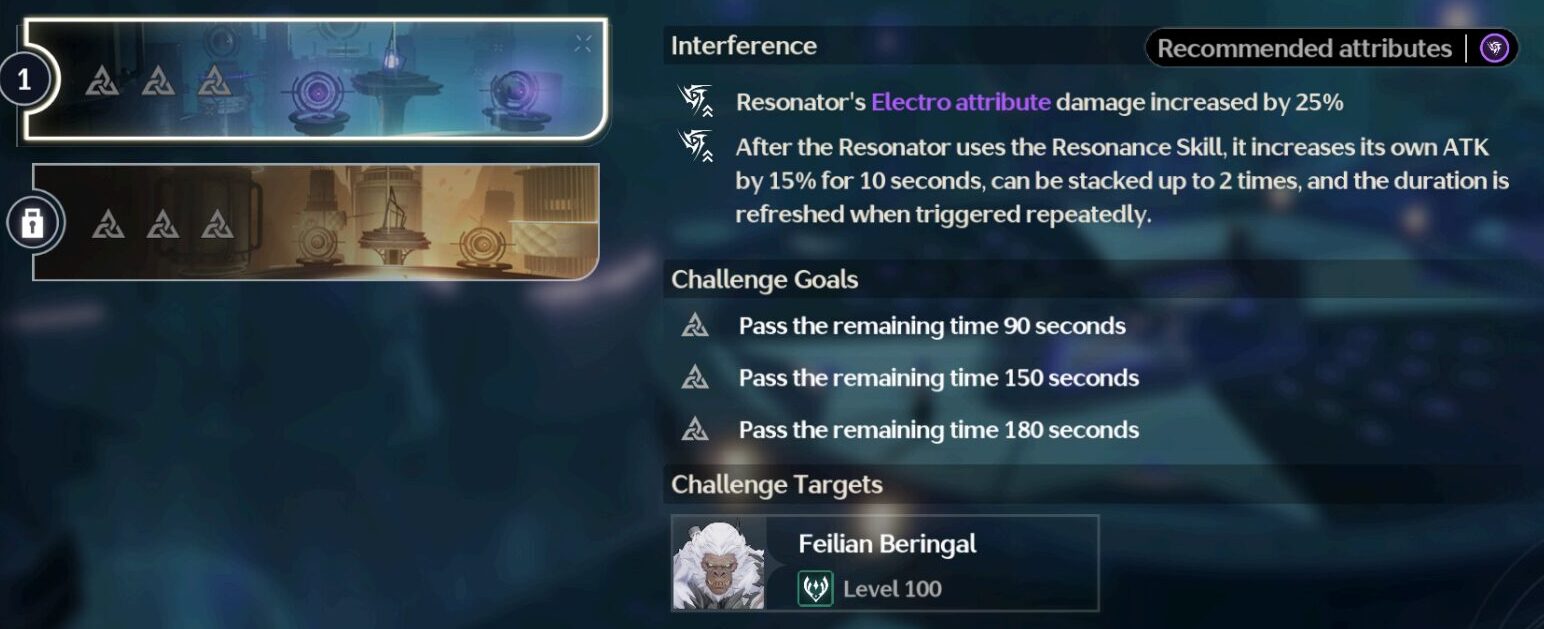
If you do not beat the enemies within the time limit on any stage, you’ll fail and be forced to retry the stage.
Other features about Tower of Adversity:
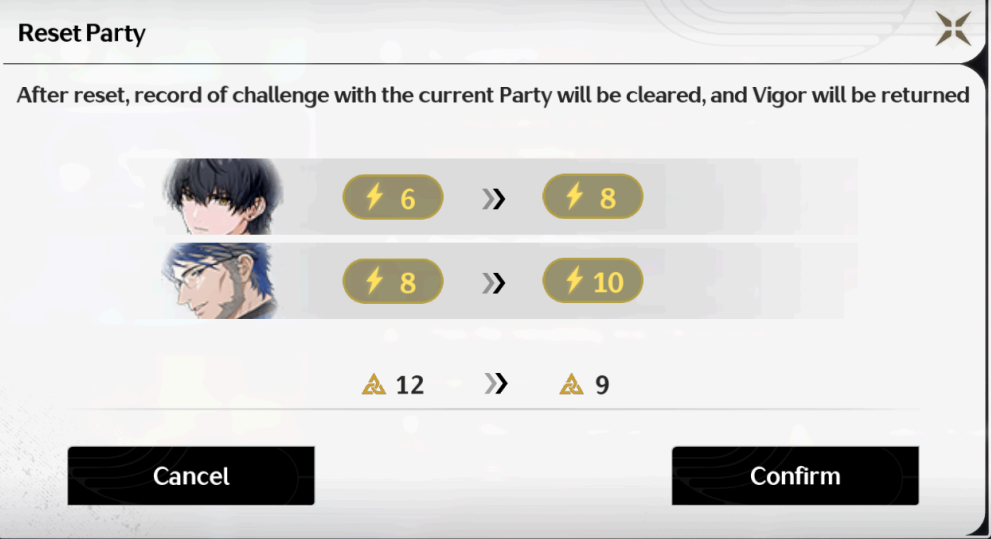
- It uses a Vigor System
- Characters have 10 Vigor and each Stage consumes 1 to 4 Vigor based on the difficulty.
- Vigor is shared across all Towers in one zone. (Stable Zone’s vigor won’t affect Experimental Zone’s)
- Characters can recover any spent Vigor by resetting your score on a stage- but you’ll lose all “stars” from that Stage.
- Stages are challenged separately, you can use different comps per stage and zones and change all of their equipment too.
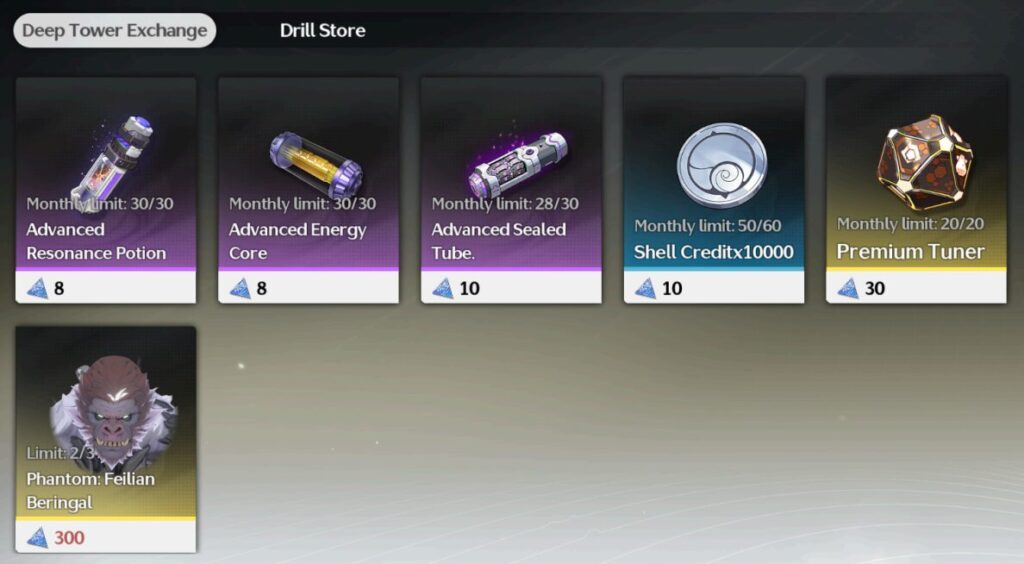
- After completion, you’ll gain Points that let you buy upgrades and Phantom Echoes (Their “shiny” version)
- You cannot attempt later stages without doing the previous stages first.
As for other and more in-depth guides, please check out the guides section of the website and the Priority Guide for a list of things to focus on with new accounts.
Changelog
- May 28, 2024: Updated for Version 1.0 release.
- May 22, 2024: Transfer of the initial guide and separation of the Priority Guide.
- June 28, 2024: Updated for Version 1.1 release.
